
How to Maximize Your Nursery Station with Microgreens
Want to learn how to grow microgreens and maximize your revenue while you’re at it?

First off: What are microgreens?
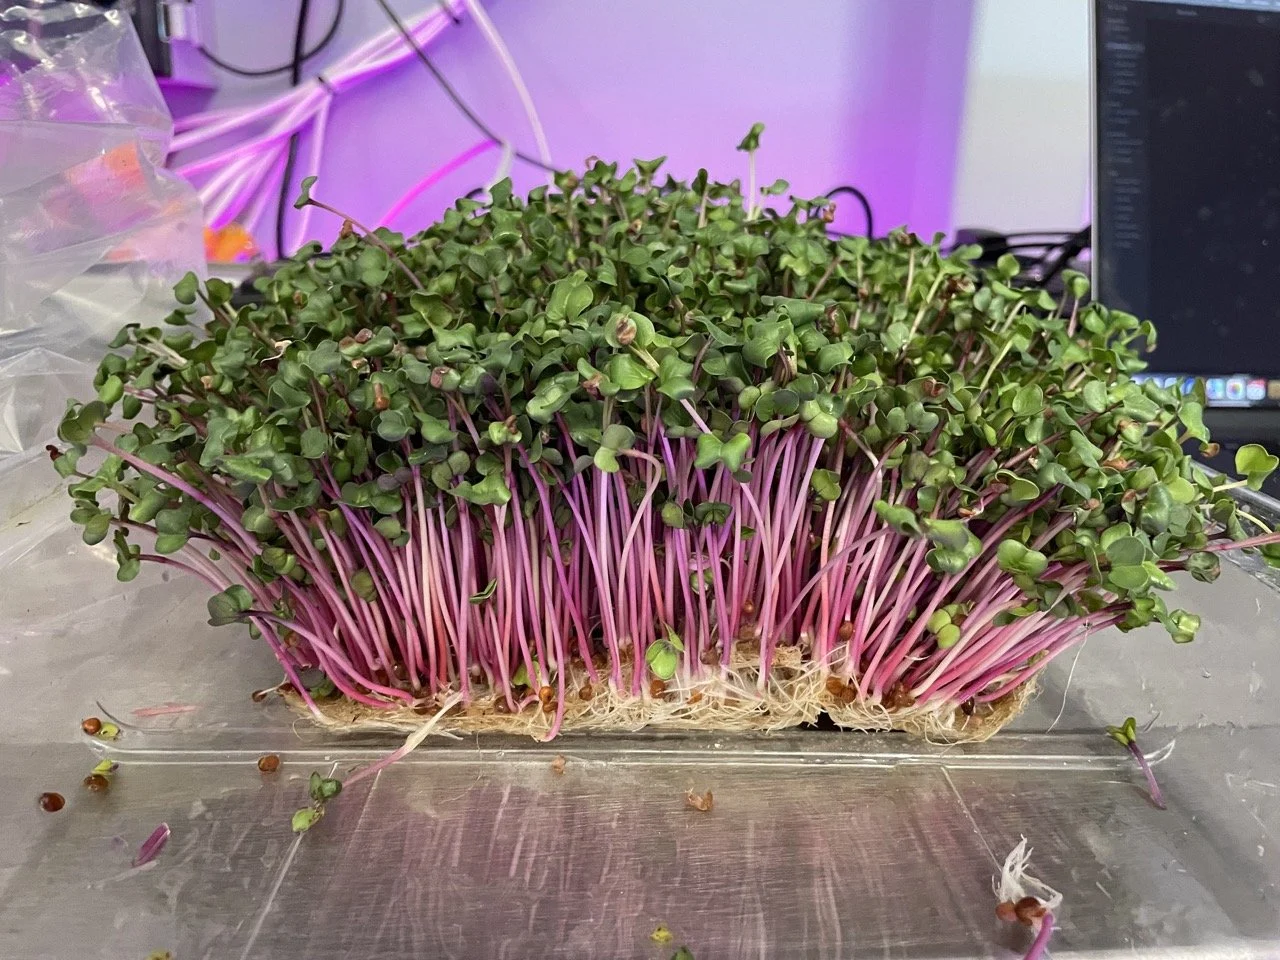
Microgreens are very young seedlings of vegetables and herbs. These tiny plants pack a surprisingly powerful punch, with big flavor and lots of nutritional content.
You probably know that Greenery™ S vertical farms have two growing areas: the Nursery Station (where seedlings sprout) and the Cultivation Area (where plants mature). It just so happens that the Nursery Station has some extra room. Why not use this space for growing microgreens to make some extra income?
Why is there extra room? Here’s the quick math: The Nursery Station has room for 16 trays (of either 200 or 288 cells). To keep the Cultivation Area full, if you’re only growing lettuce you’ll need to plant 990 plants (in 4–5 trays) in the Nursery Station each week, where they’ll stay for 3 weeks until they’re ready for transplanting. This leaves at least one available tray at all times. What to do with that extra tray? Plant microgreens!
Some farmers go even further and install a grow rack across from the Nursery Station to really maximize their output per square foot and meet the local demand for microgreens.

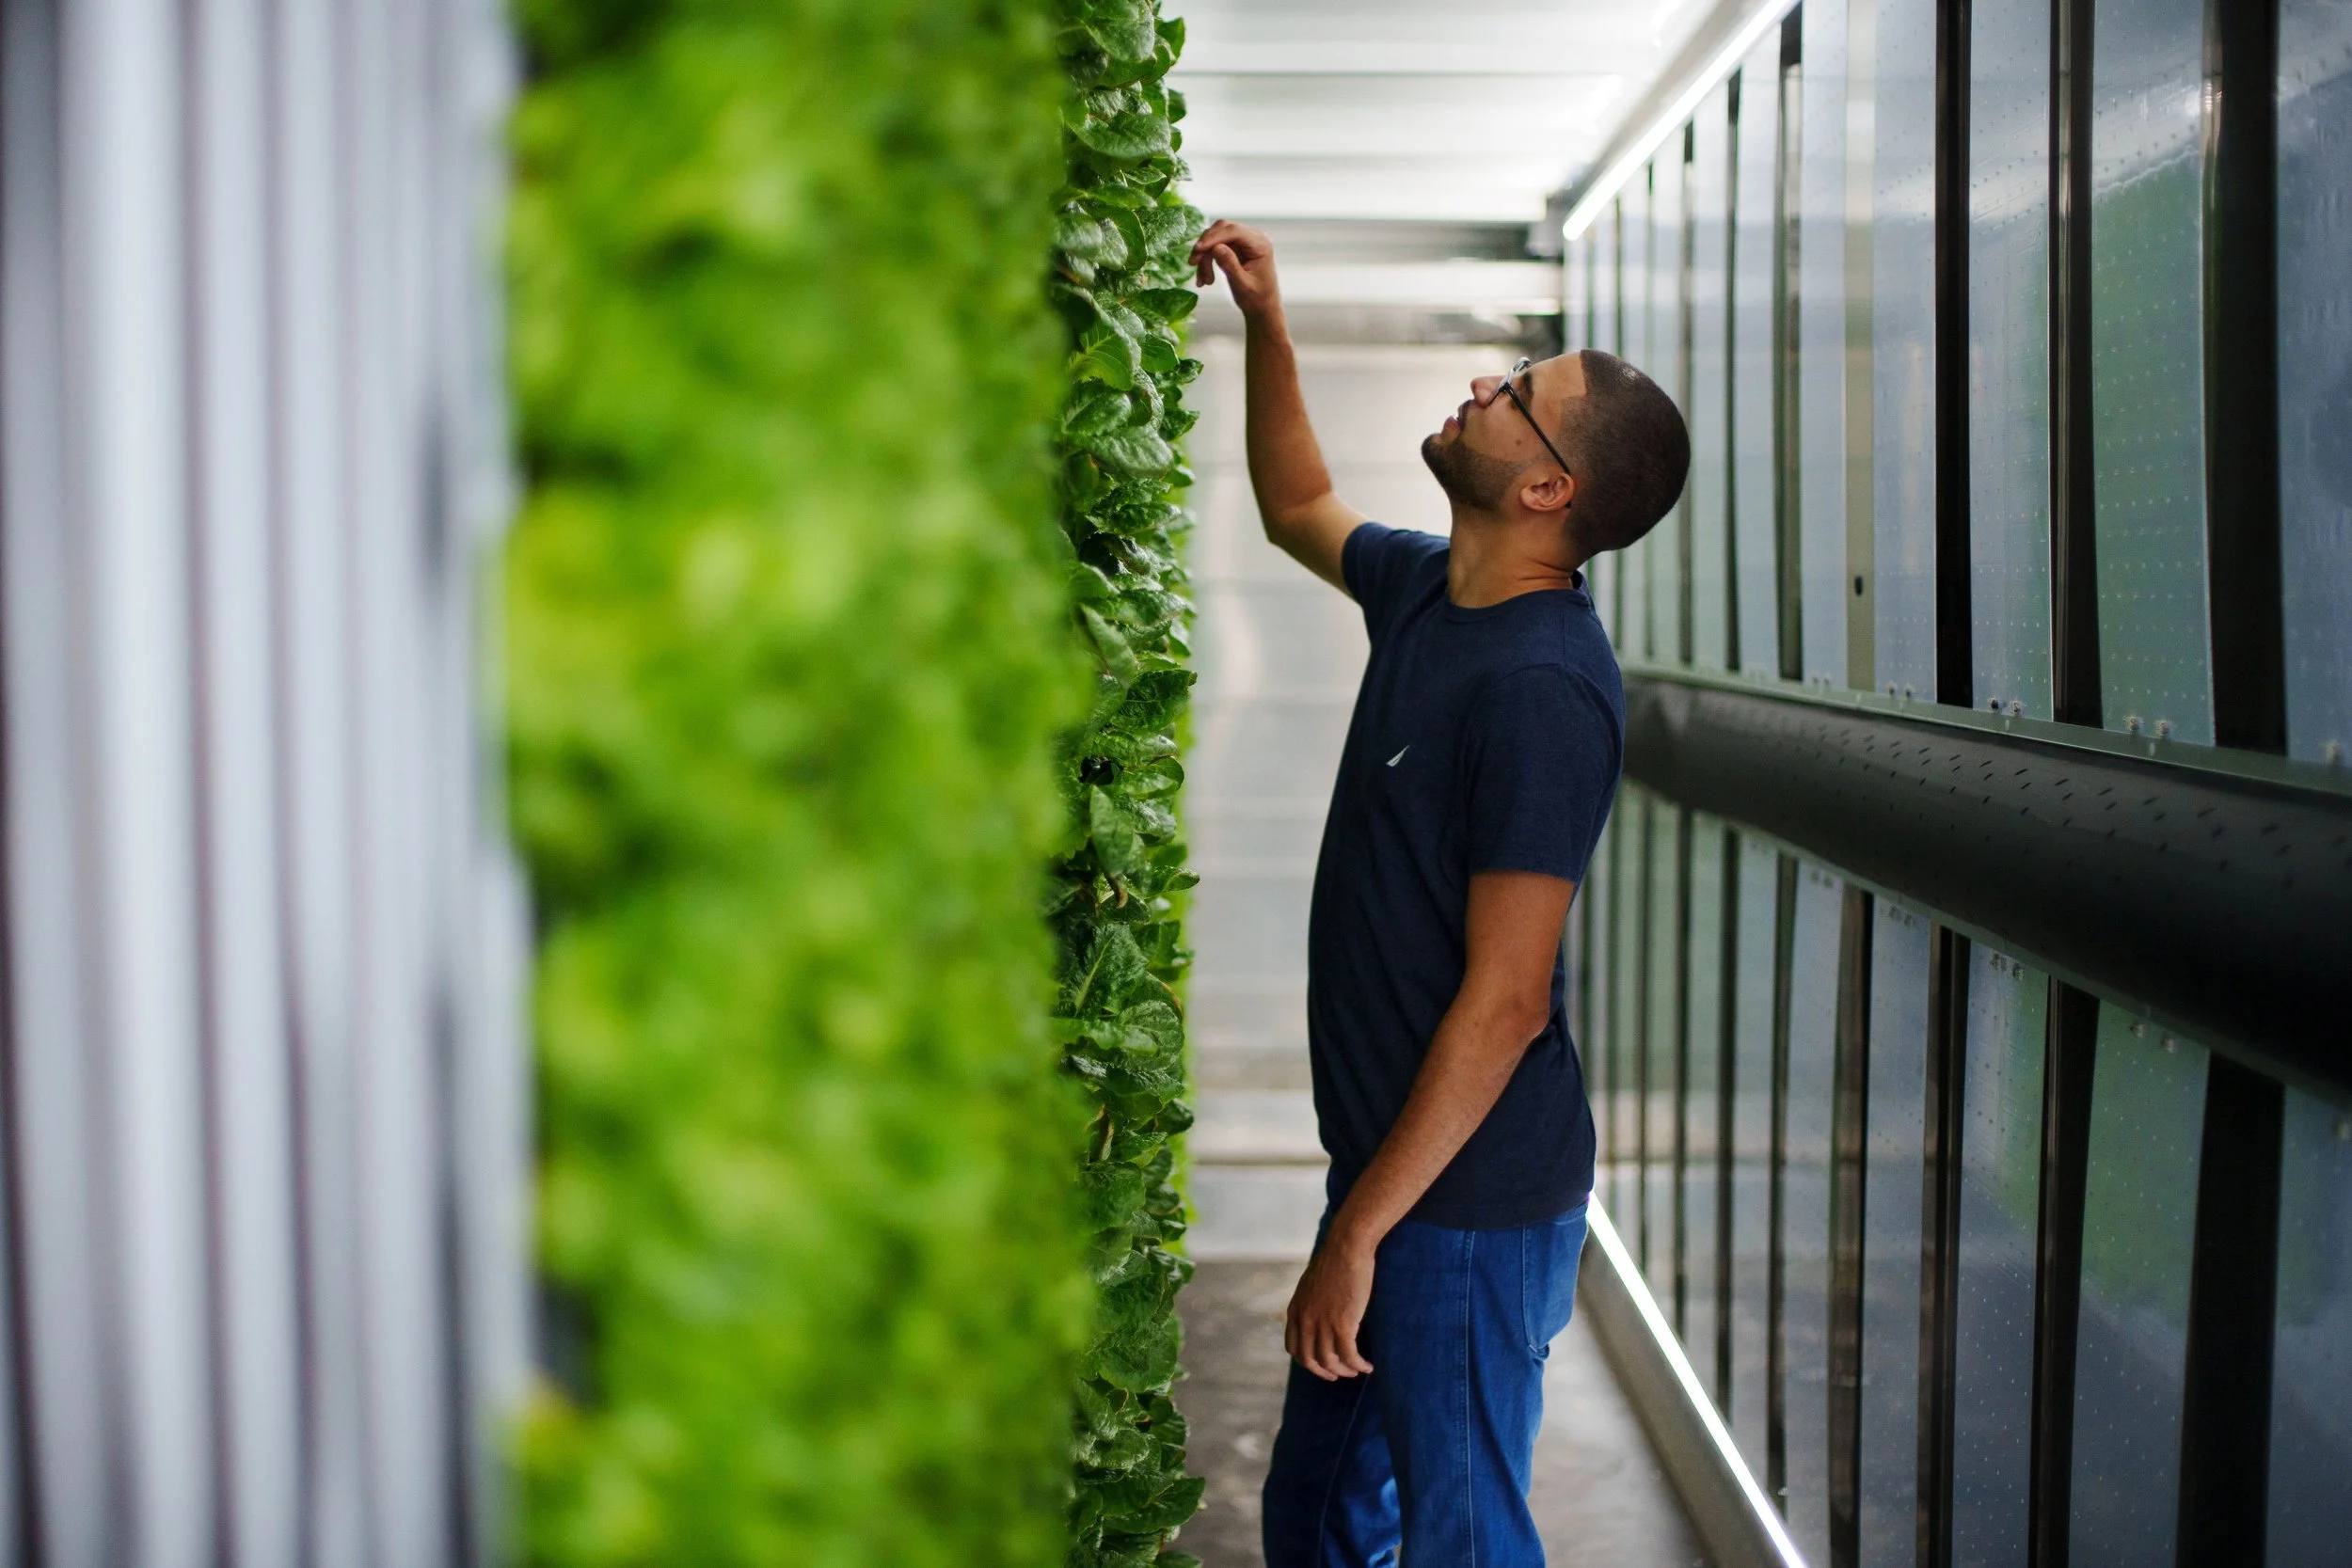
Photo by Augustine Fou on Unsplash
Why?
Microgreens grow fast. They’re ready 10–12 days after planting seeds.
Microgreens grow without grow plugs, which saves you both time and money. (They grow in flat trays on a substrate mat, which is cheaper than plugs.)
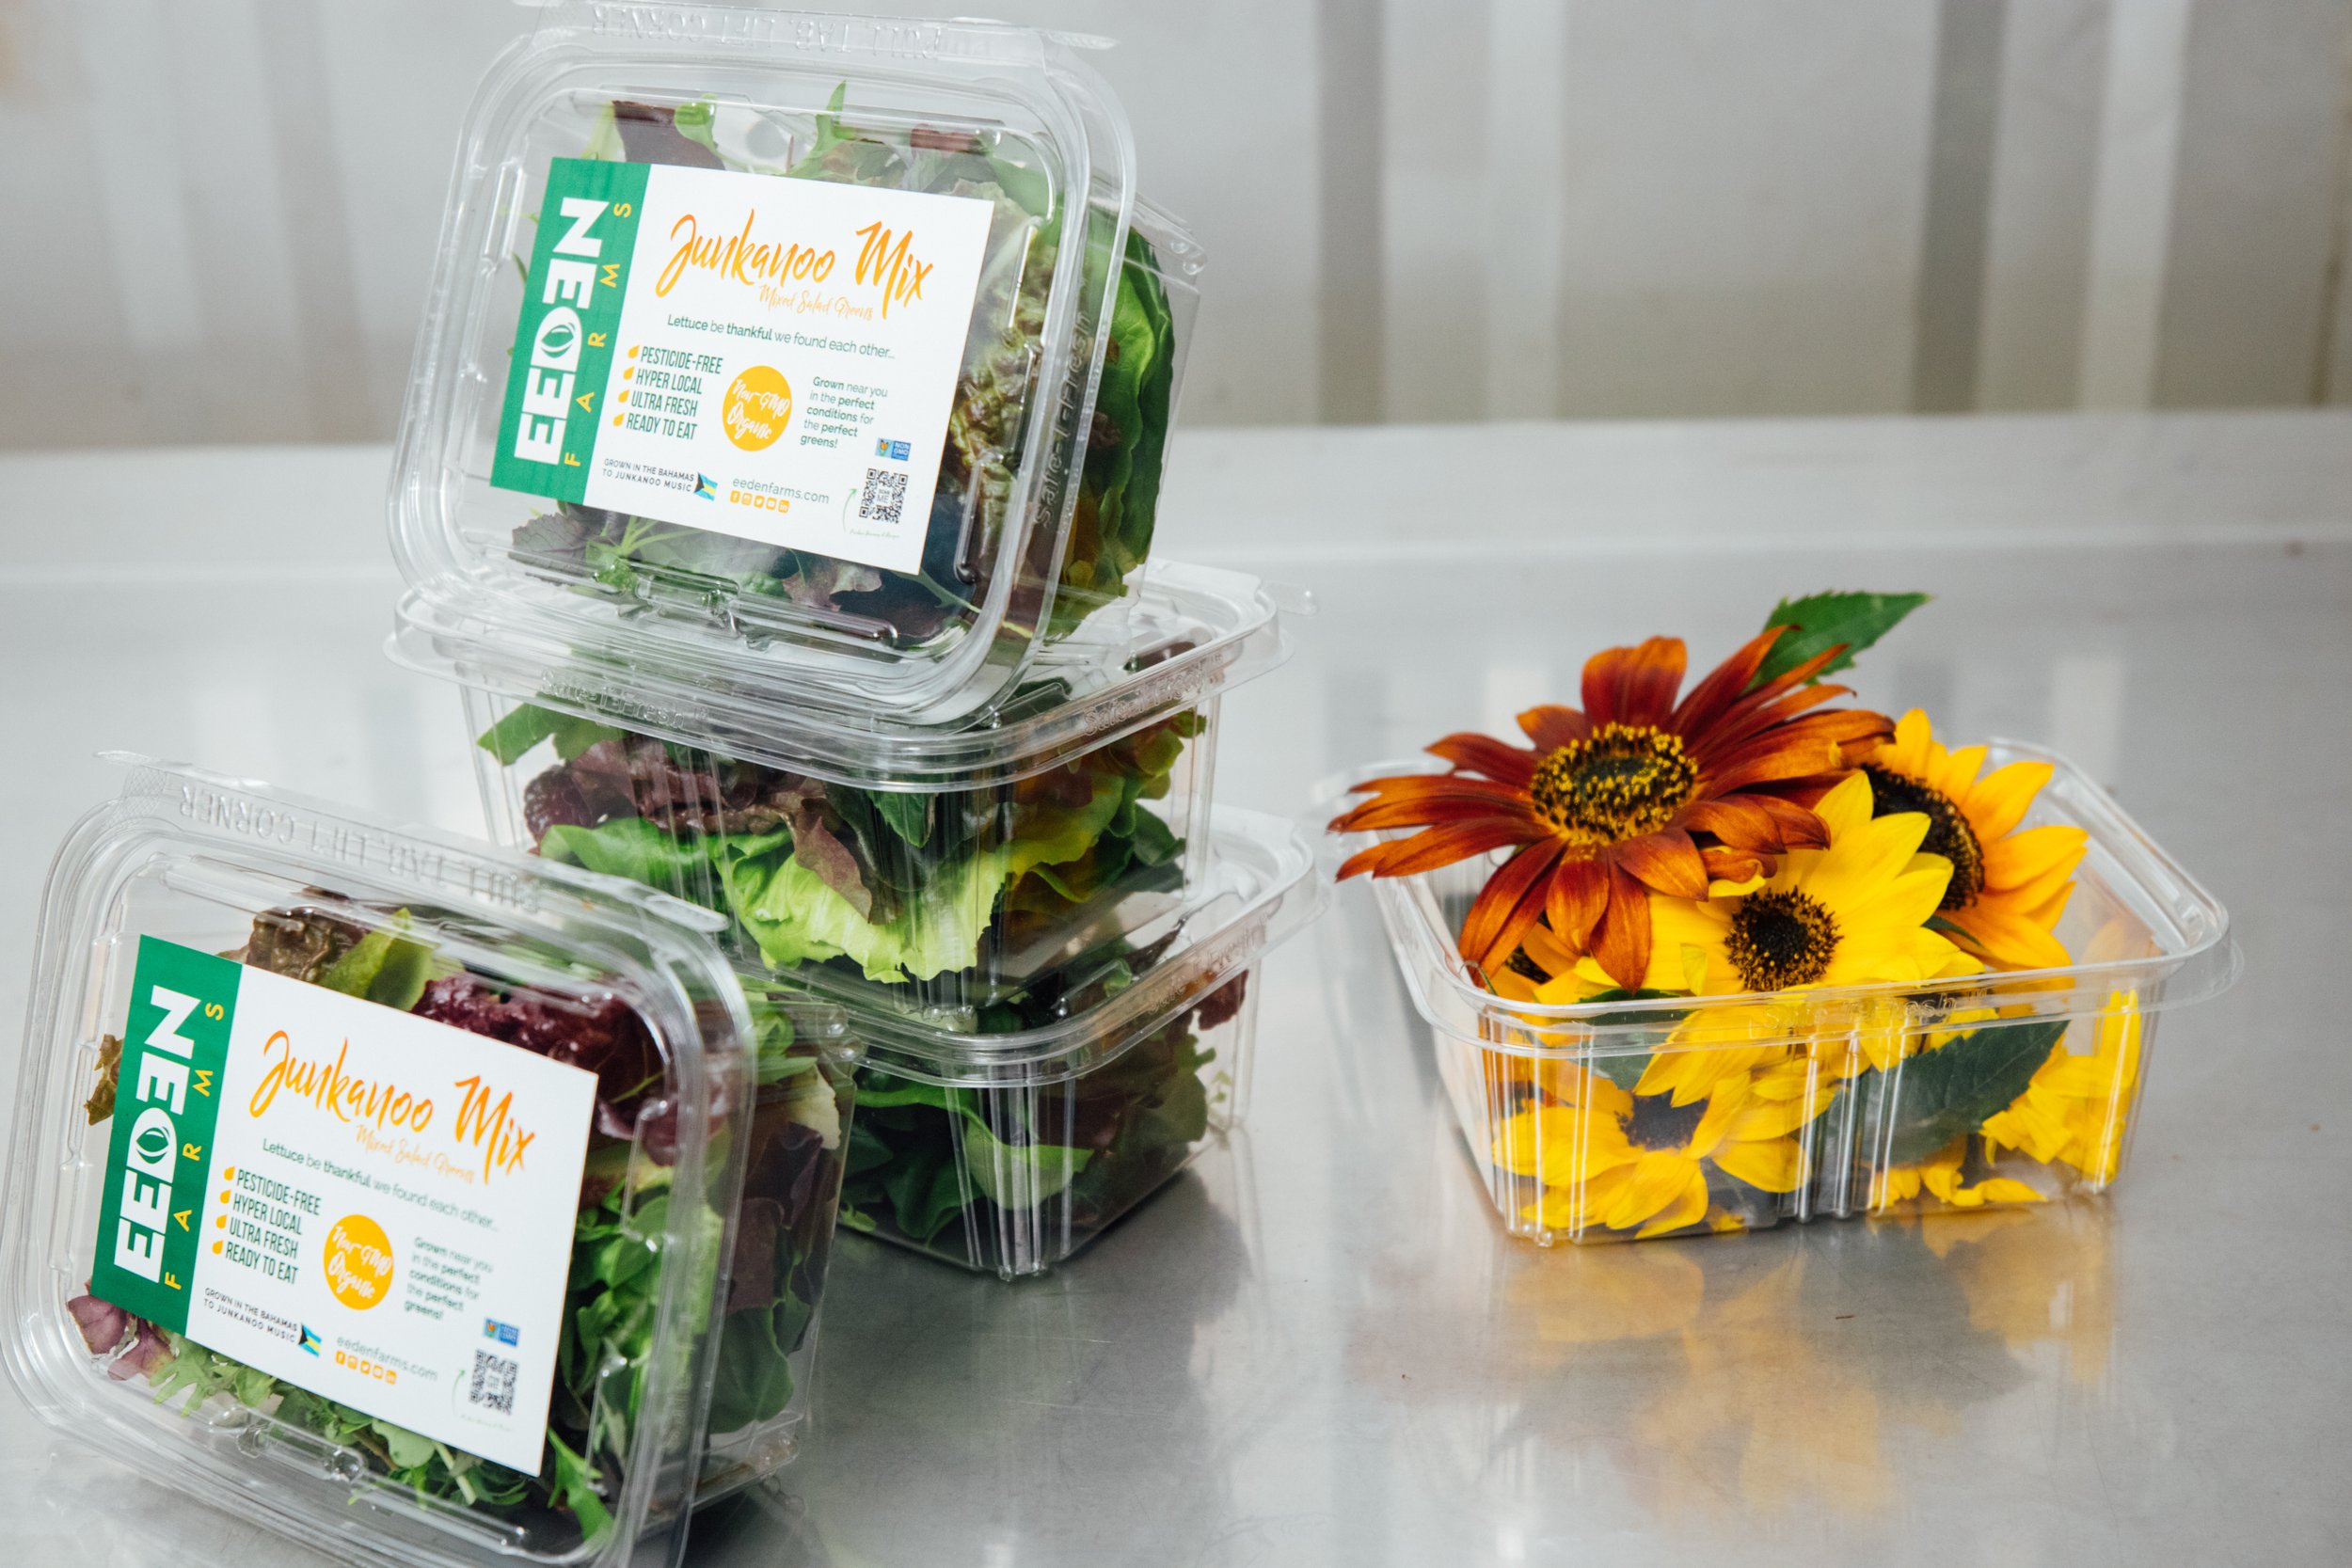
Microgreens are highly sellable. The microgreens industry is rapidly growing, and chefs and consumers alike love them for elegant garnishes, pops of color, and their flavor and nutritional value.
Microgreens command a premium price. People will pay $2–$3/ounce for microgreens. With each tray producing between 2–3 lb. of microgreens, that adds up to somewhere between $64–$144 per tray!
All in all, if you routinely planted microgreens in your extra tray, you could be making over $300 in additional income each month!
So, how to grow microgreens hydroponically?
It’s pretty simple. Here’s a high-level overview:
Line a flat 10”x20” microgreen tray with substrate (such as coco coir or hemp mats). Completely saturate the substrate with water.
Evenly distribute a thin layer of microgreen seeds on top of the substrate and cover with a tray to shield from light, then cover with a humidity dome. The seeds will germinate in the dark for 3–4 days.
After 3–4 days, remove the cover to expose the sprouts to light and move the tray to the open spot in your Nursery Station’s troughs.
The microgreens will start to turn green and grow leaves over the following 6–8 days.
The microgreens should be ready to harvest after 10–12 days total, any time between when they’ve formed cotyledons (seed leaves) and when their first true leaves have emerged. To harvest, cut as close to the substrate as possible with a sharp knife or scissors.
Follow along to see how to grow microgreens hydroponically!
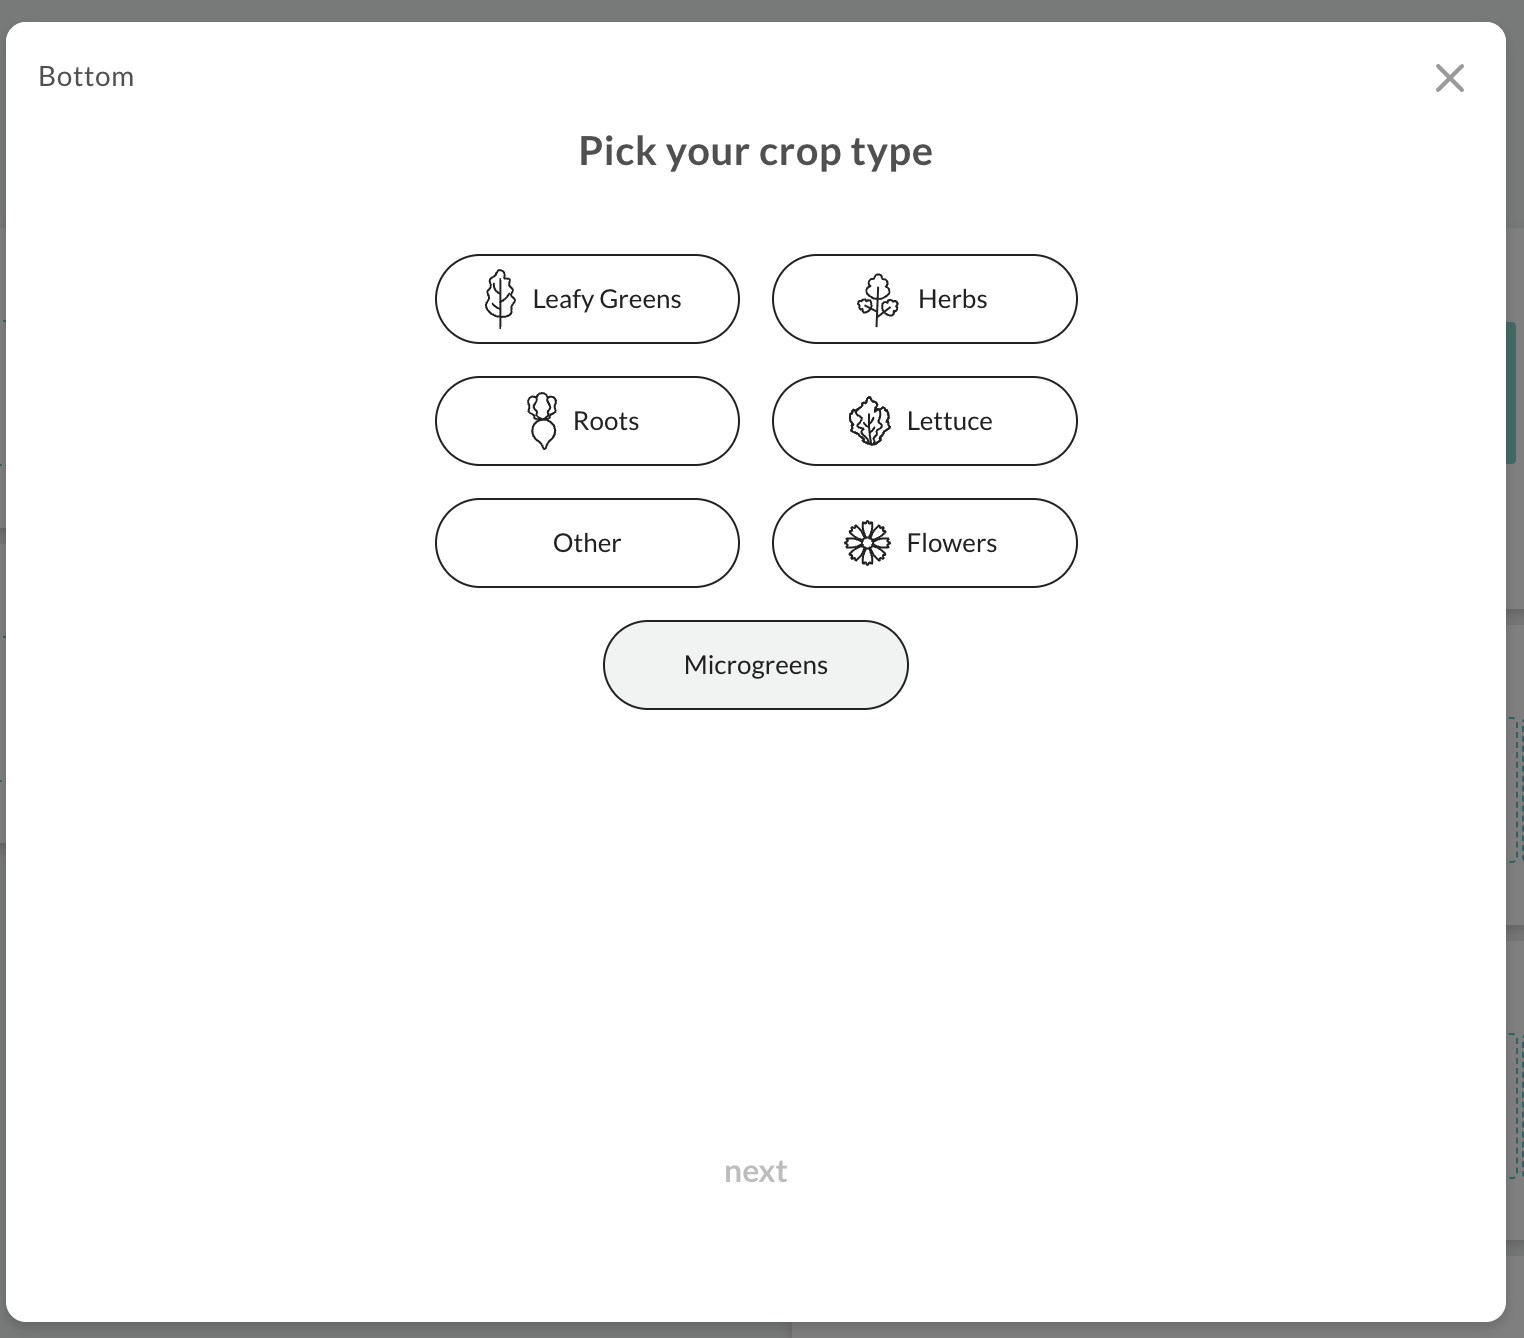

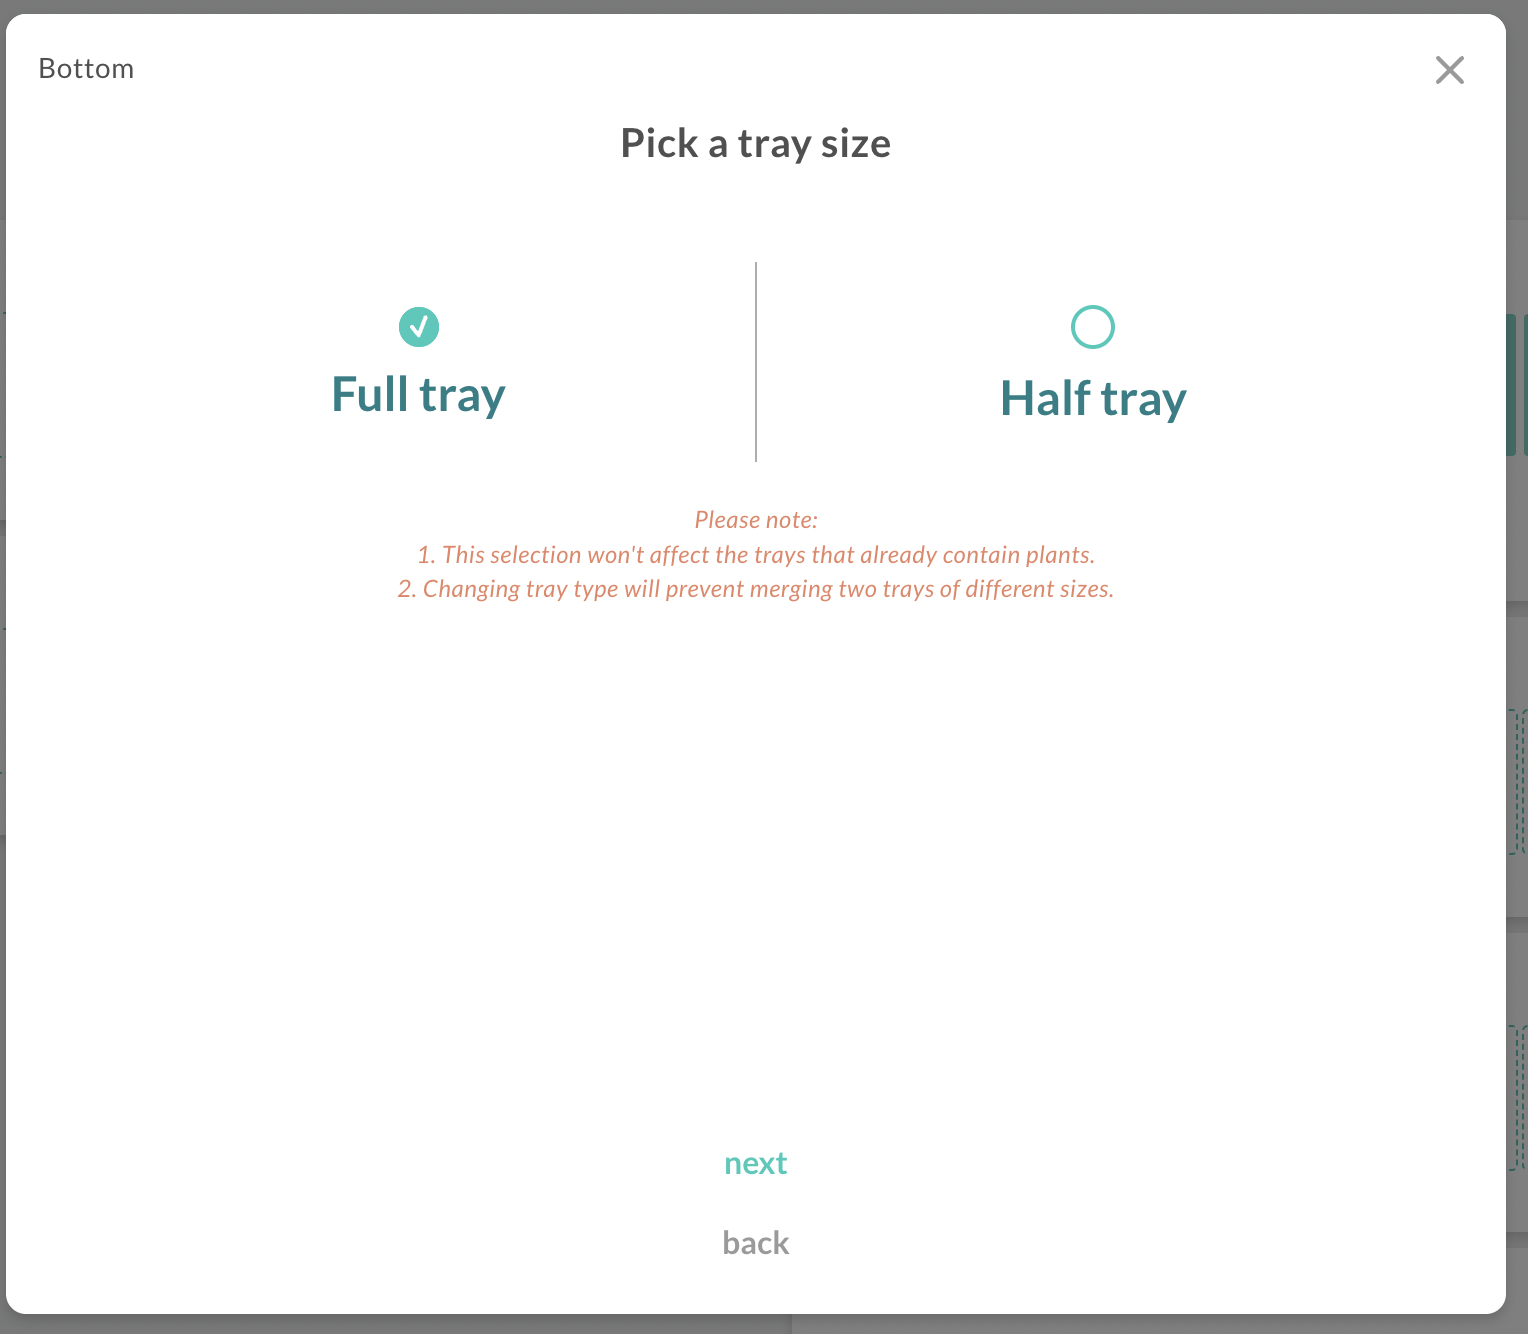
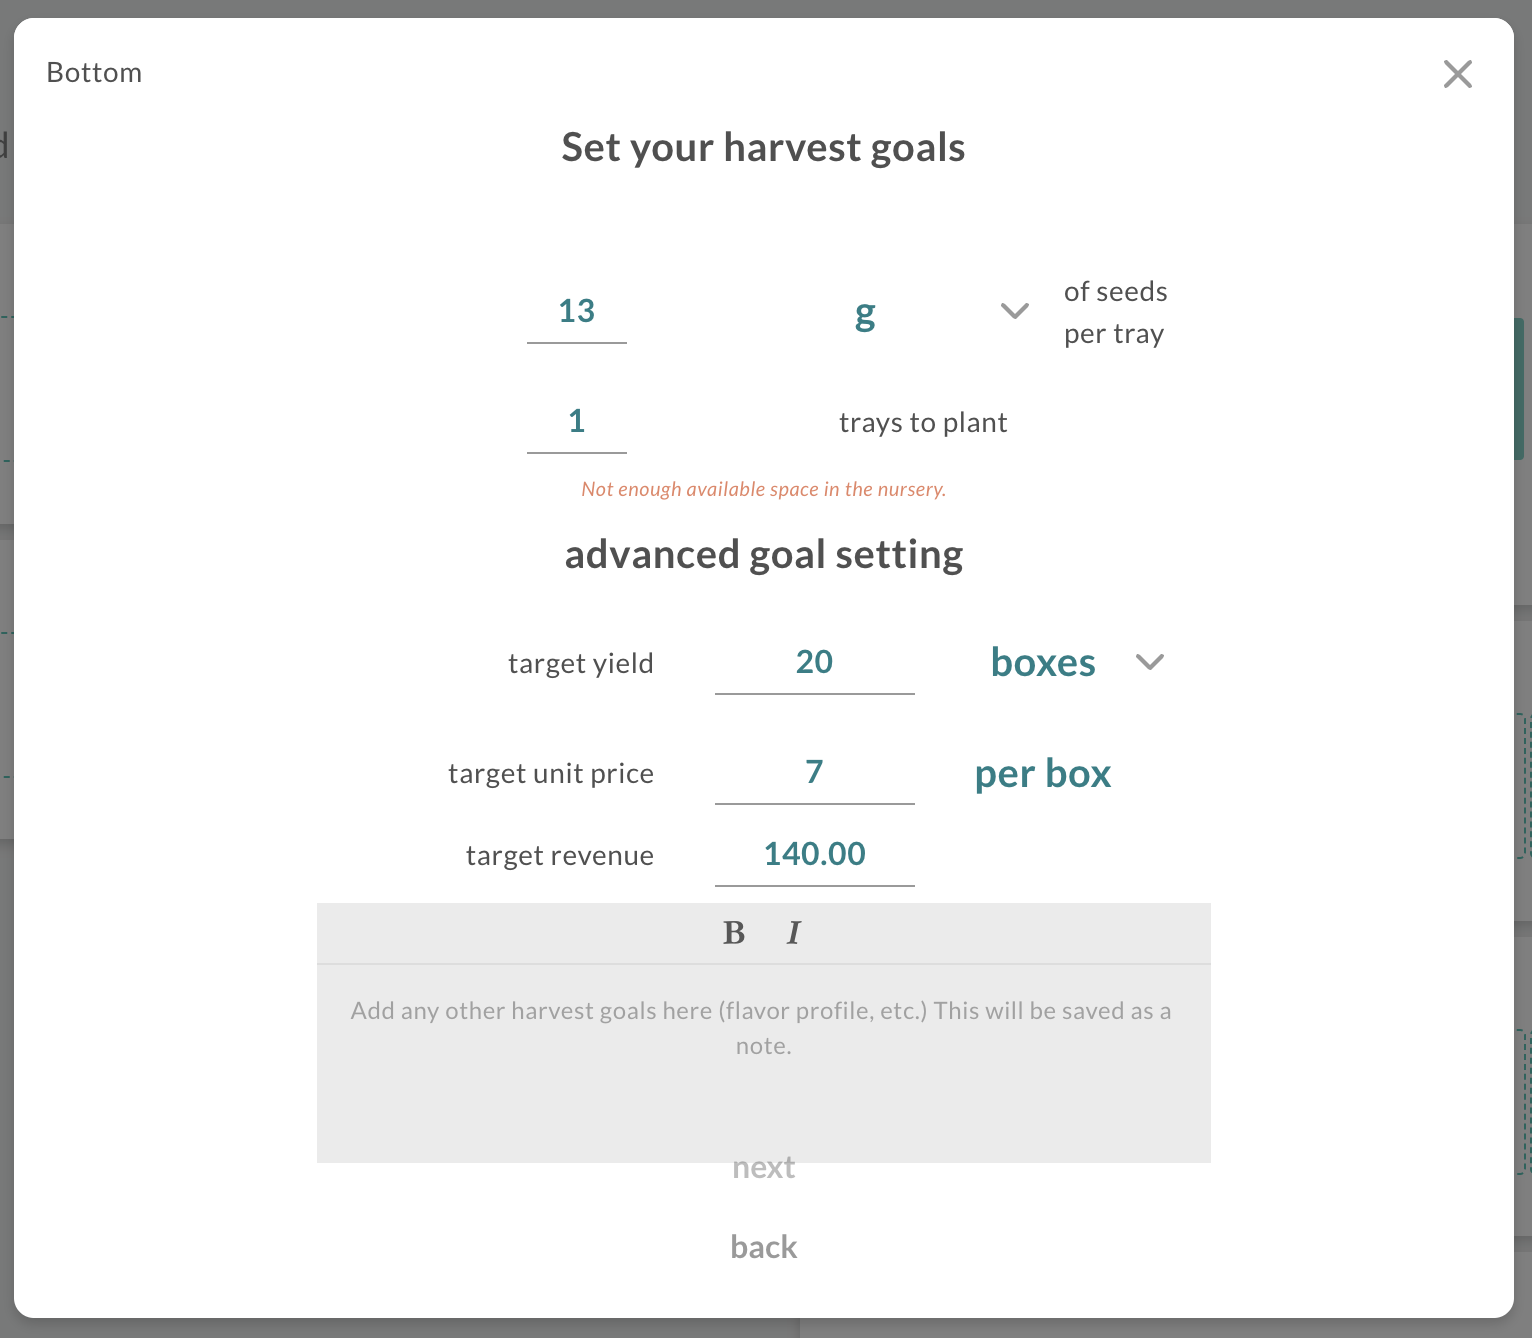
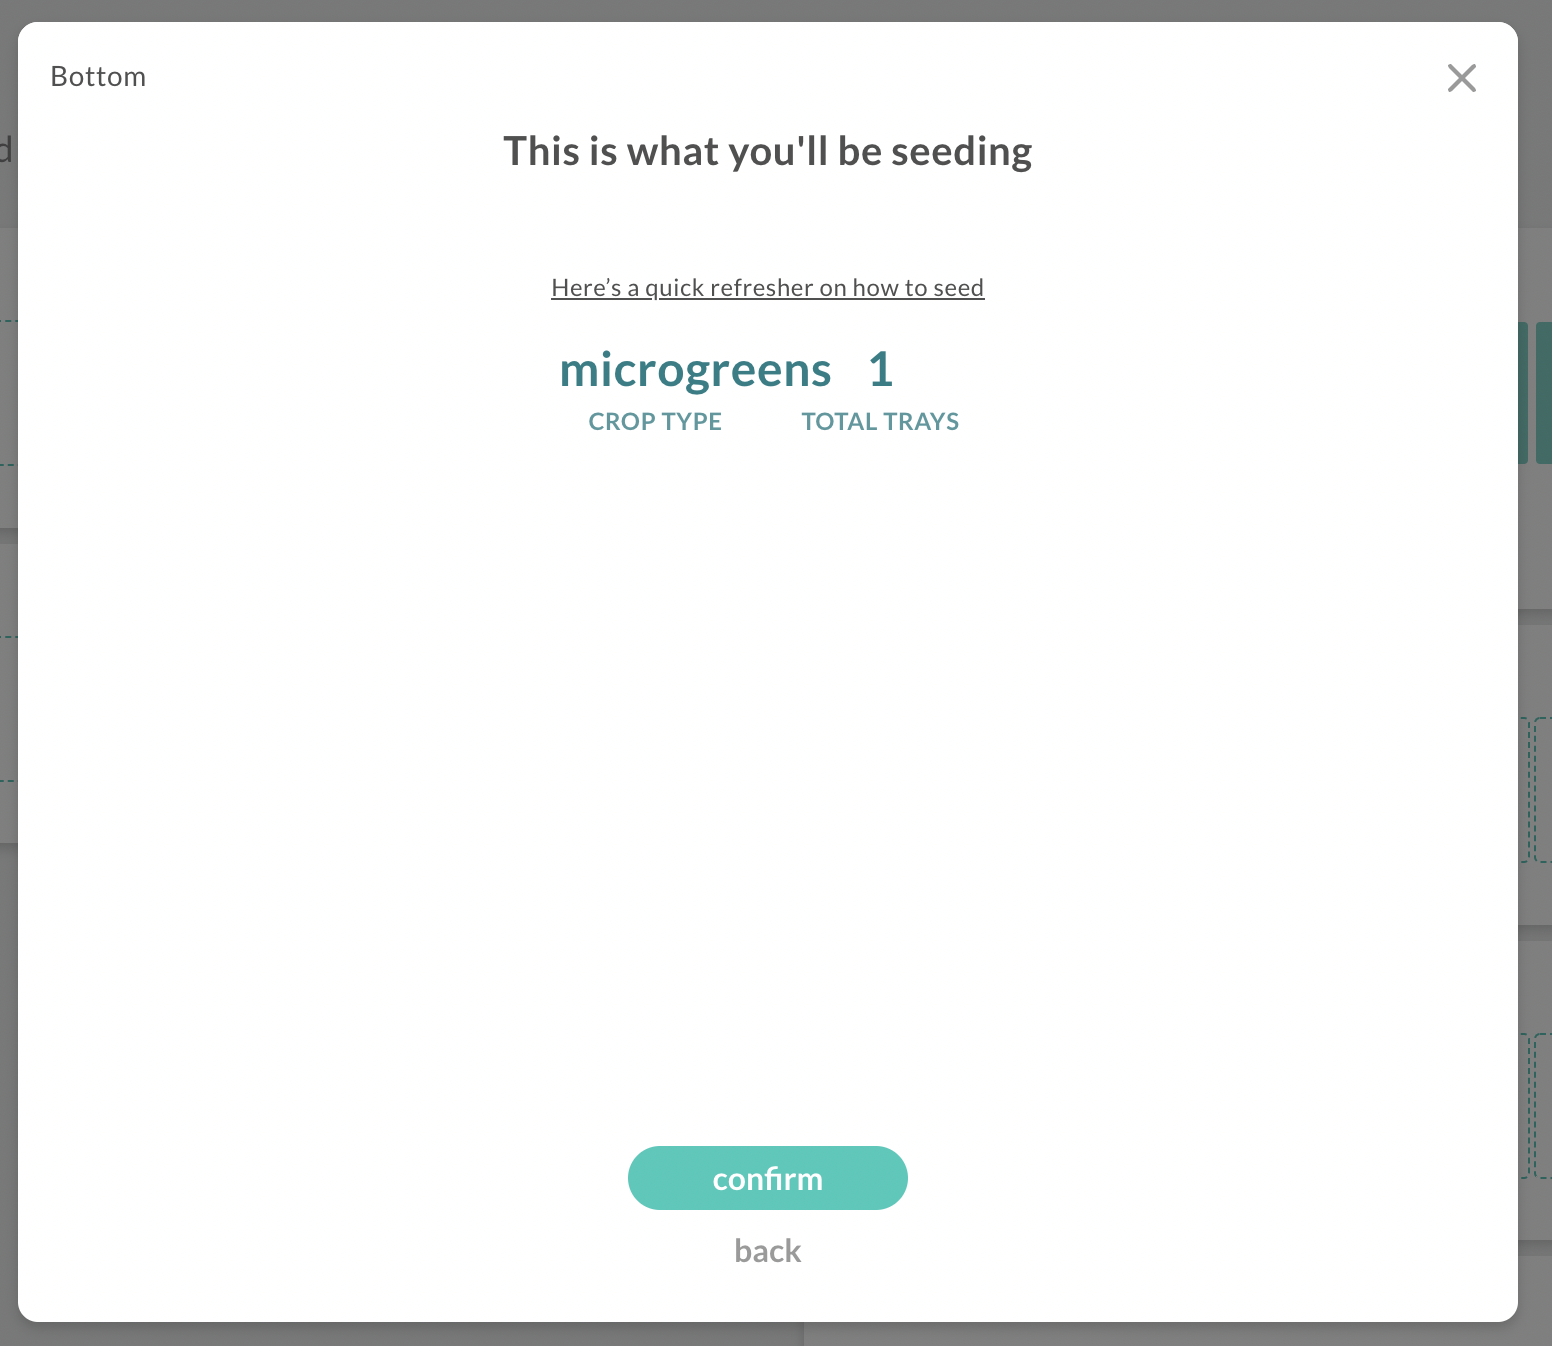
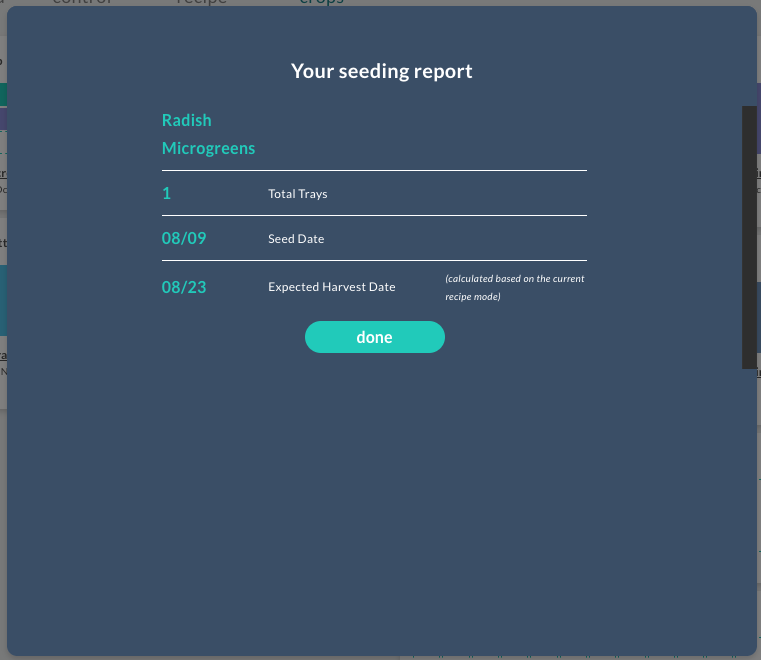
Farmhand software is your guide for growing microgreens
Freight Farms’ farm management software walks you through planning your microgreens crop, helps you to set goals, and projects when your microgreens will be ready for harvest.
What type of microgreens should you grow? Here at Freight Farms we love radish microgreens, which have a distinctly radishy, spicy flavor and a pretty pink color, and are also the simplest type of microgreens to get started with. Other great options are broccoli, cabbage, pea, and others.
Happy growing!


If you’re interested in bringing a Greenery™ to your community, you must familiarize yourself with local zoning regulations. In this article, we cover the zoning basics and our 7 tips for successfully navigating zoning laws to implement your container farm.